

Have you ever watched the show Flea Market Flip on HGTV? It is one of my favorites! I love seeing how old or damaged items can be refurbished into something brand new. Recently, I gave it a try and I have to say I am rather impressed.
I thrifted this chair for $25. The pattern didn’t really match the rest of my living room furniture, and there was a small tear at the top. Nonetheless, $25 was still a steal for this big, comfy chair! I used a dot of super glue to patch up the tear, and then I started to research reupholstery.
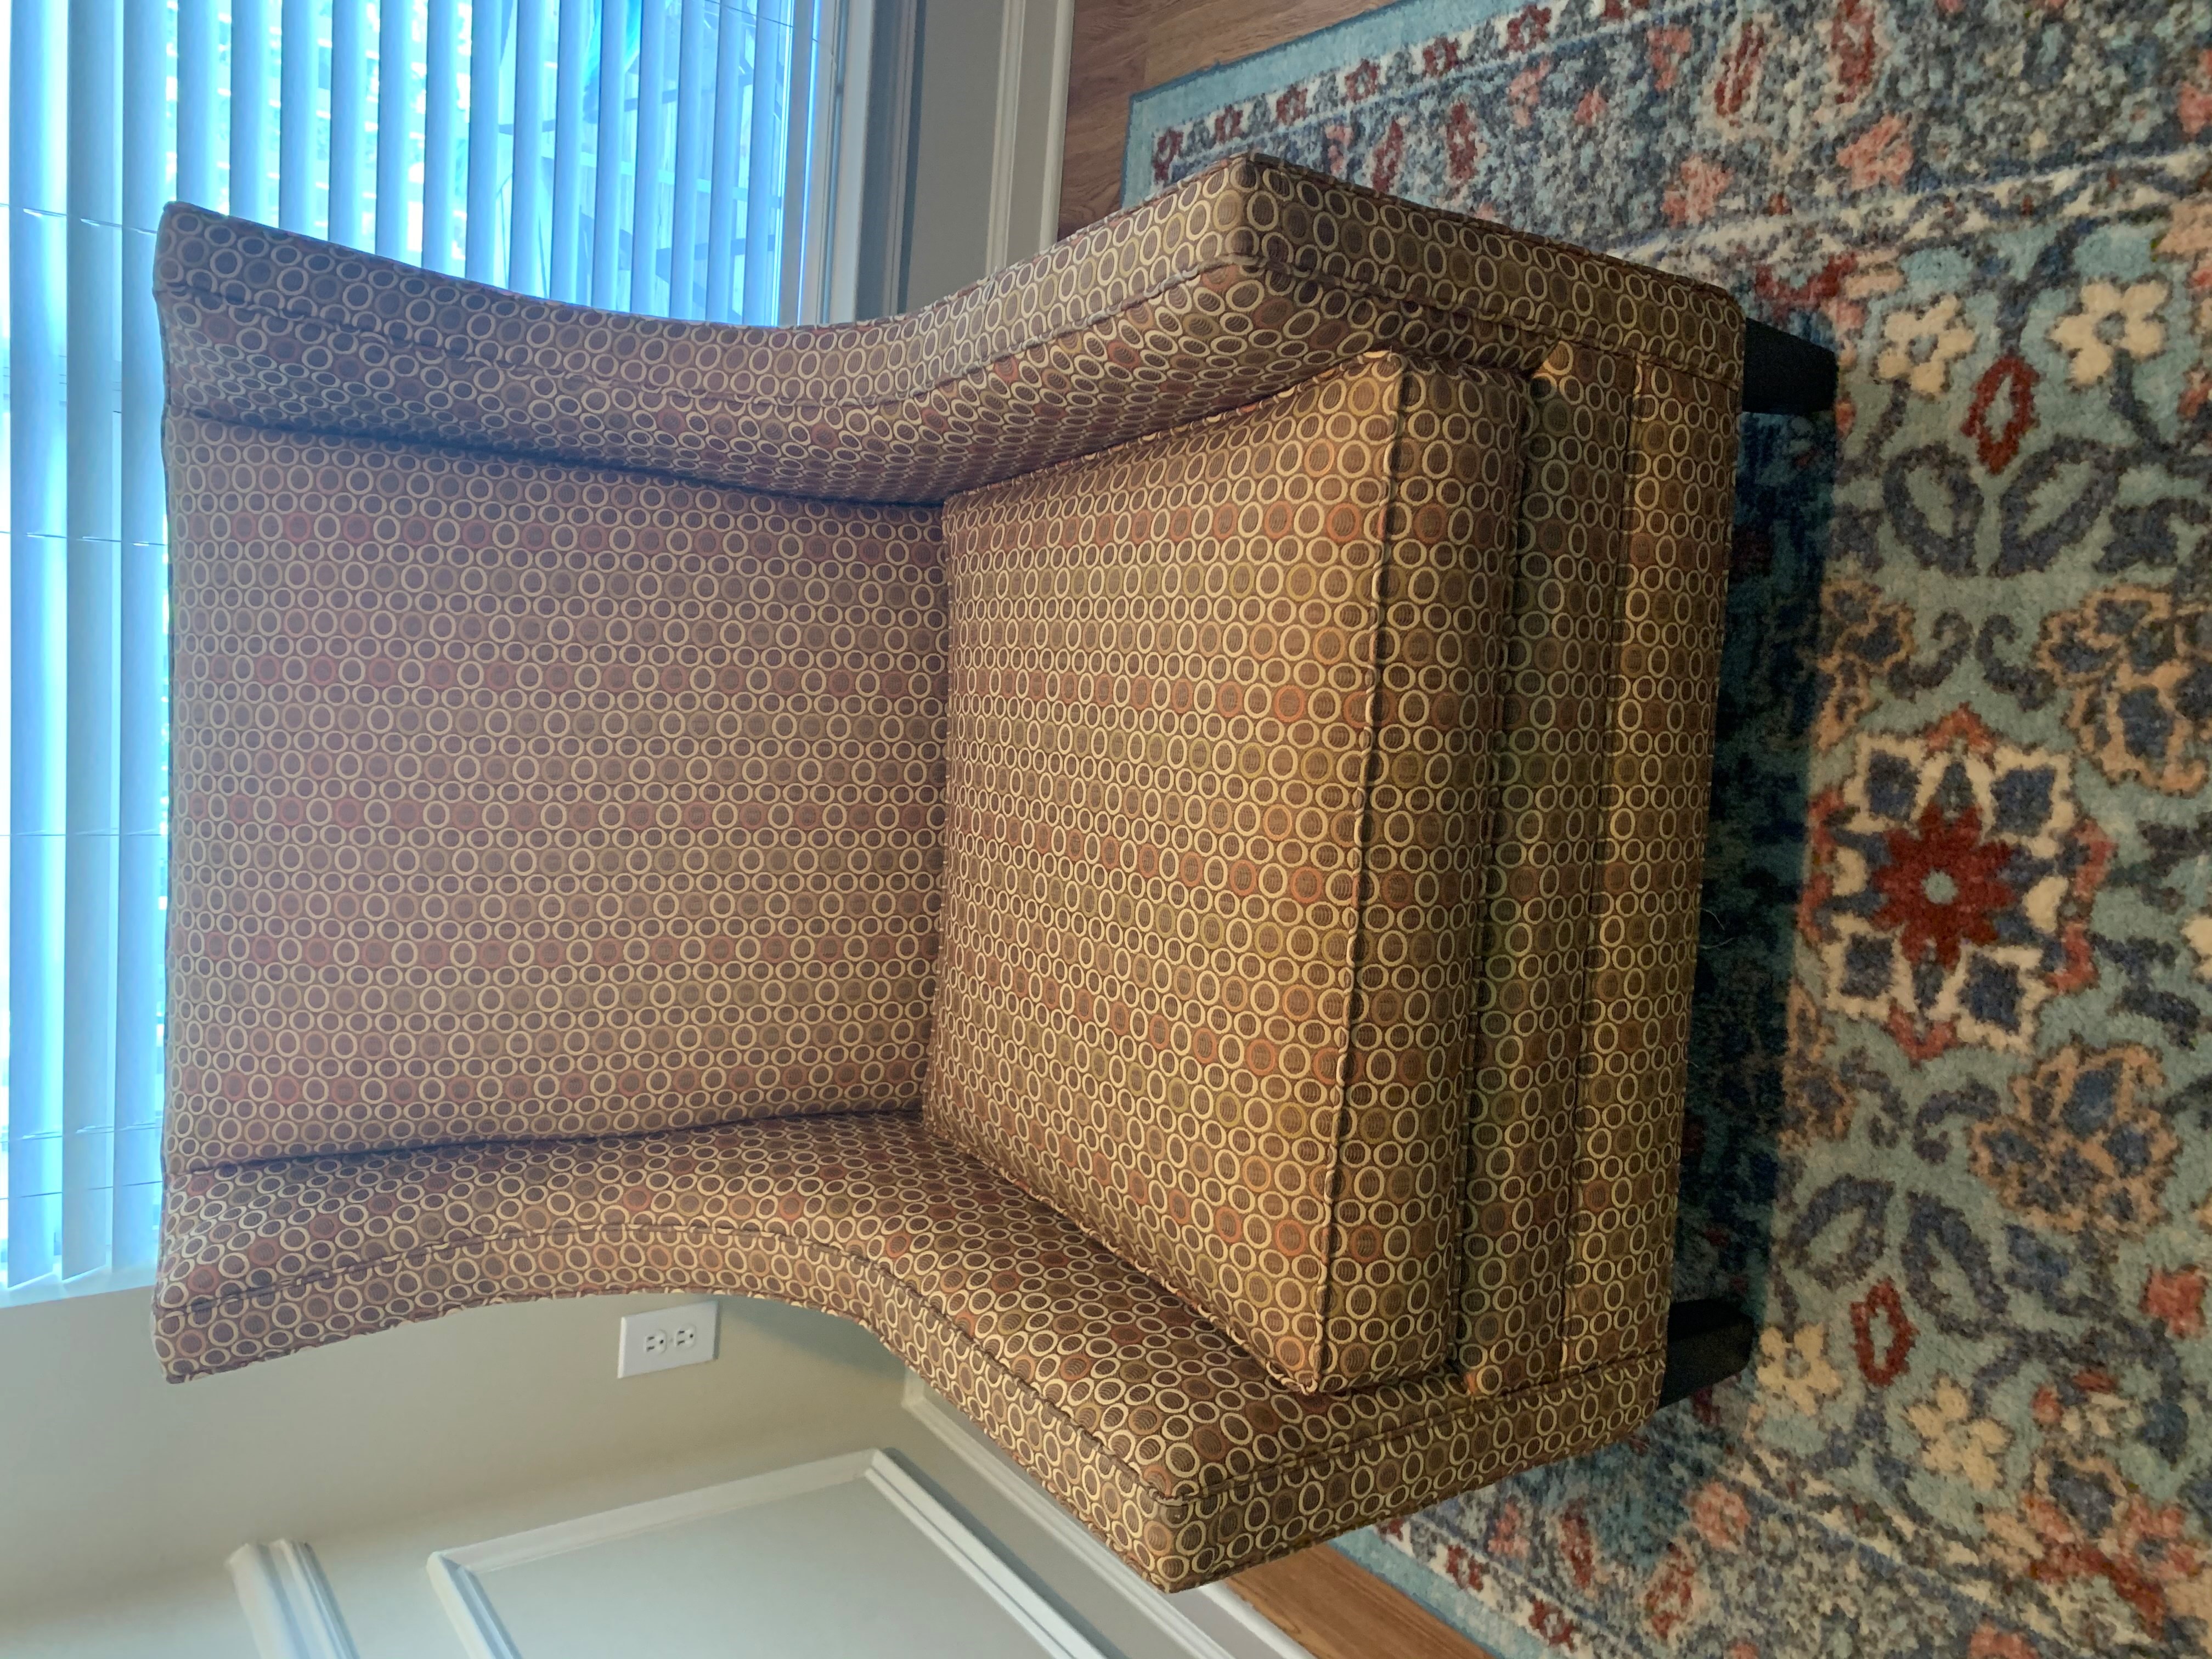
Photo courtesy of Emily Jackson
Once I started to learn about the reupholstery process and the price of fabric, I started to get discouraged. There had to be a way I could change up this chair without emptying my bank account. After a few days of scrolling through Pinterest, I came across this blog post by House&Canvas. It was this blog that sparked my inner Joanna Gaines, and I learned the secrets of painting upholstered furniture. If someone else could do it, I decided I might as well give it a try, and you should too!
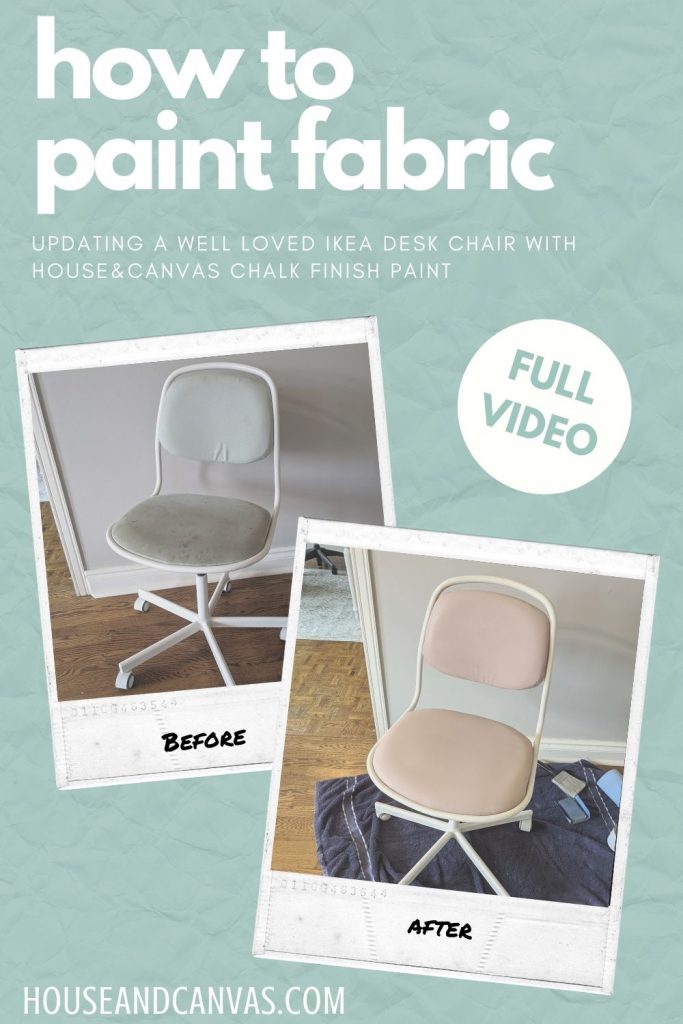
Photo courtesy of houseandcanvas.com
I spent under $100 buying the supplies that I would need to paint this chair. I bought my paint, wax, and brushes from House&Canvas. If you already have your own brushes, you could spend even less flipping a piece of your own furniture. I loved that their water-based paints had a low odor, too. This meant that I could paint inside of my apartment without any fumes, and clean my brushes right in my kitchen sink; which makes this a perfect project to do in your Camden Apartment!
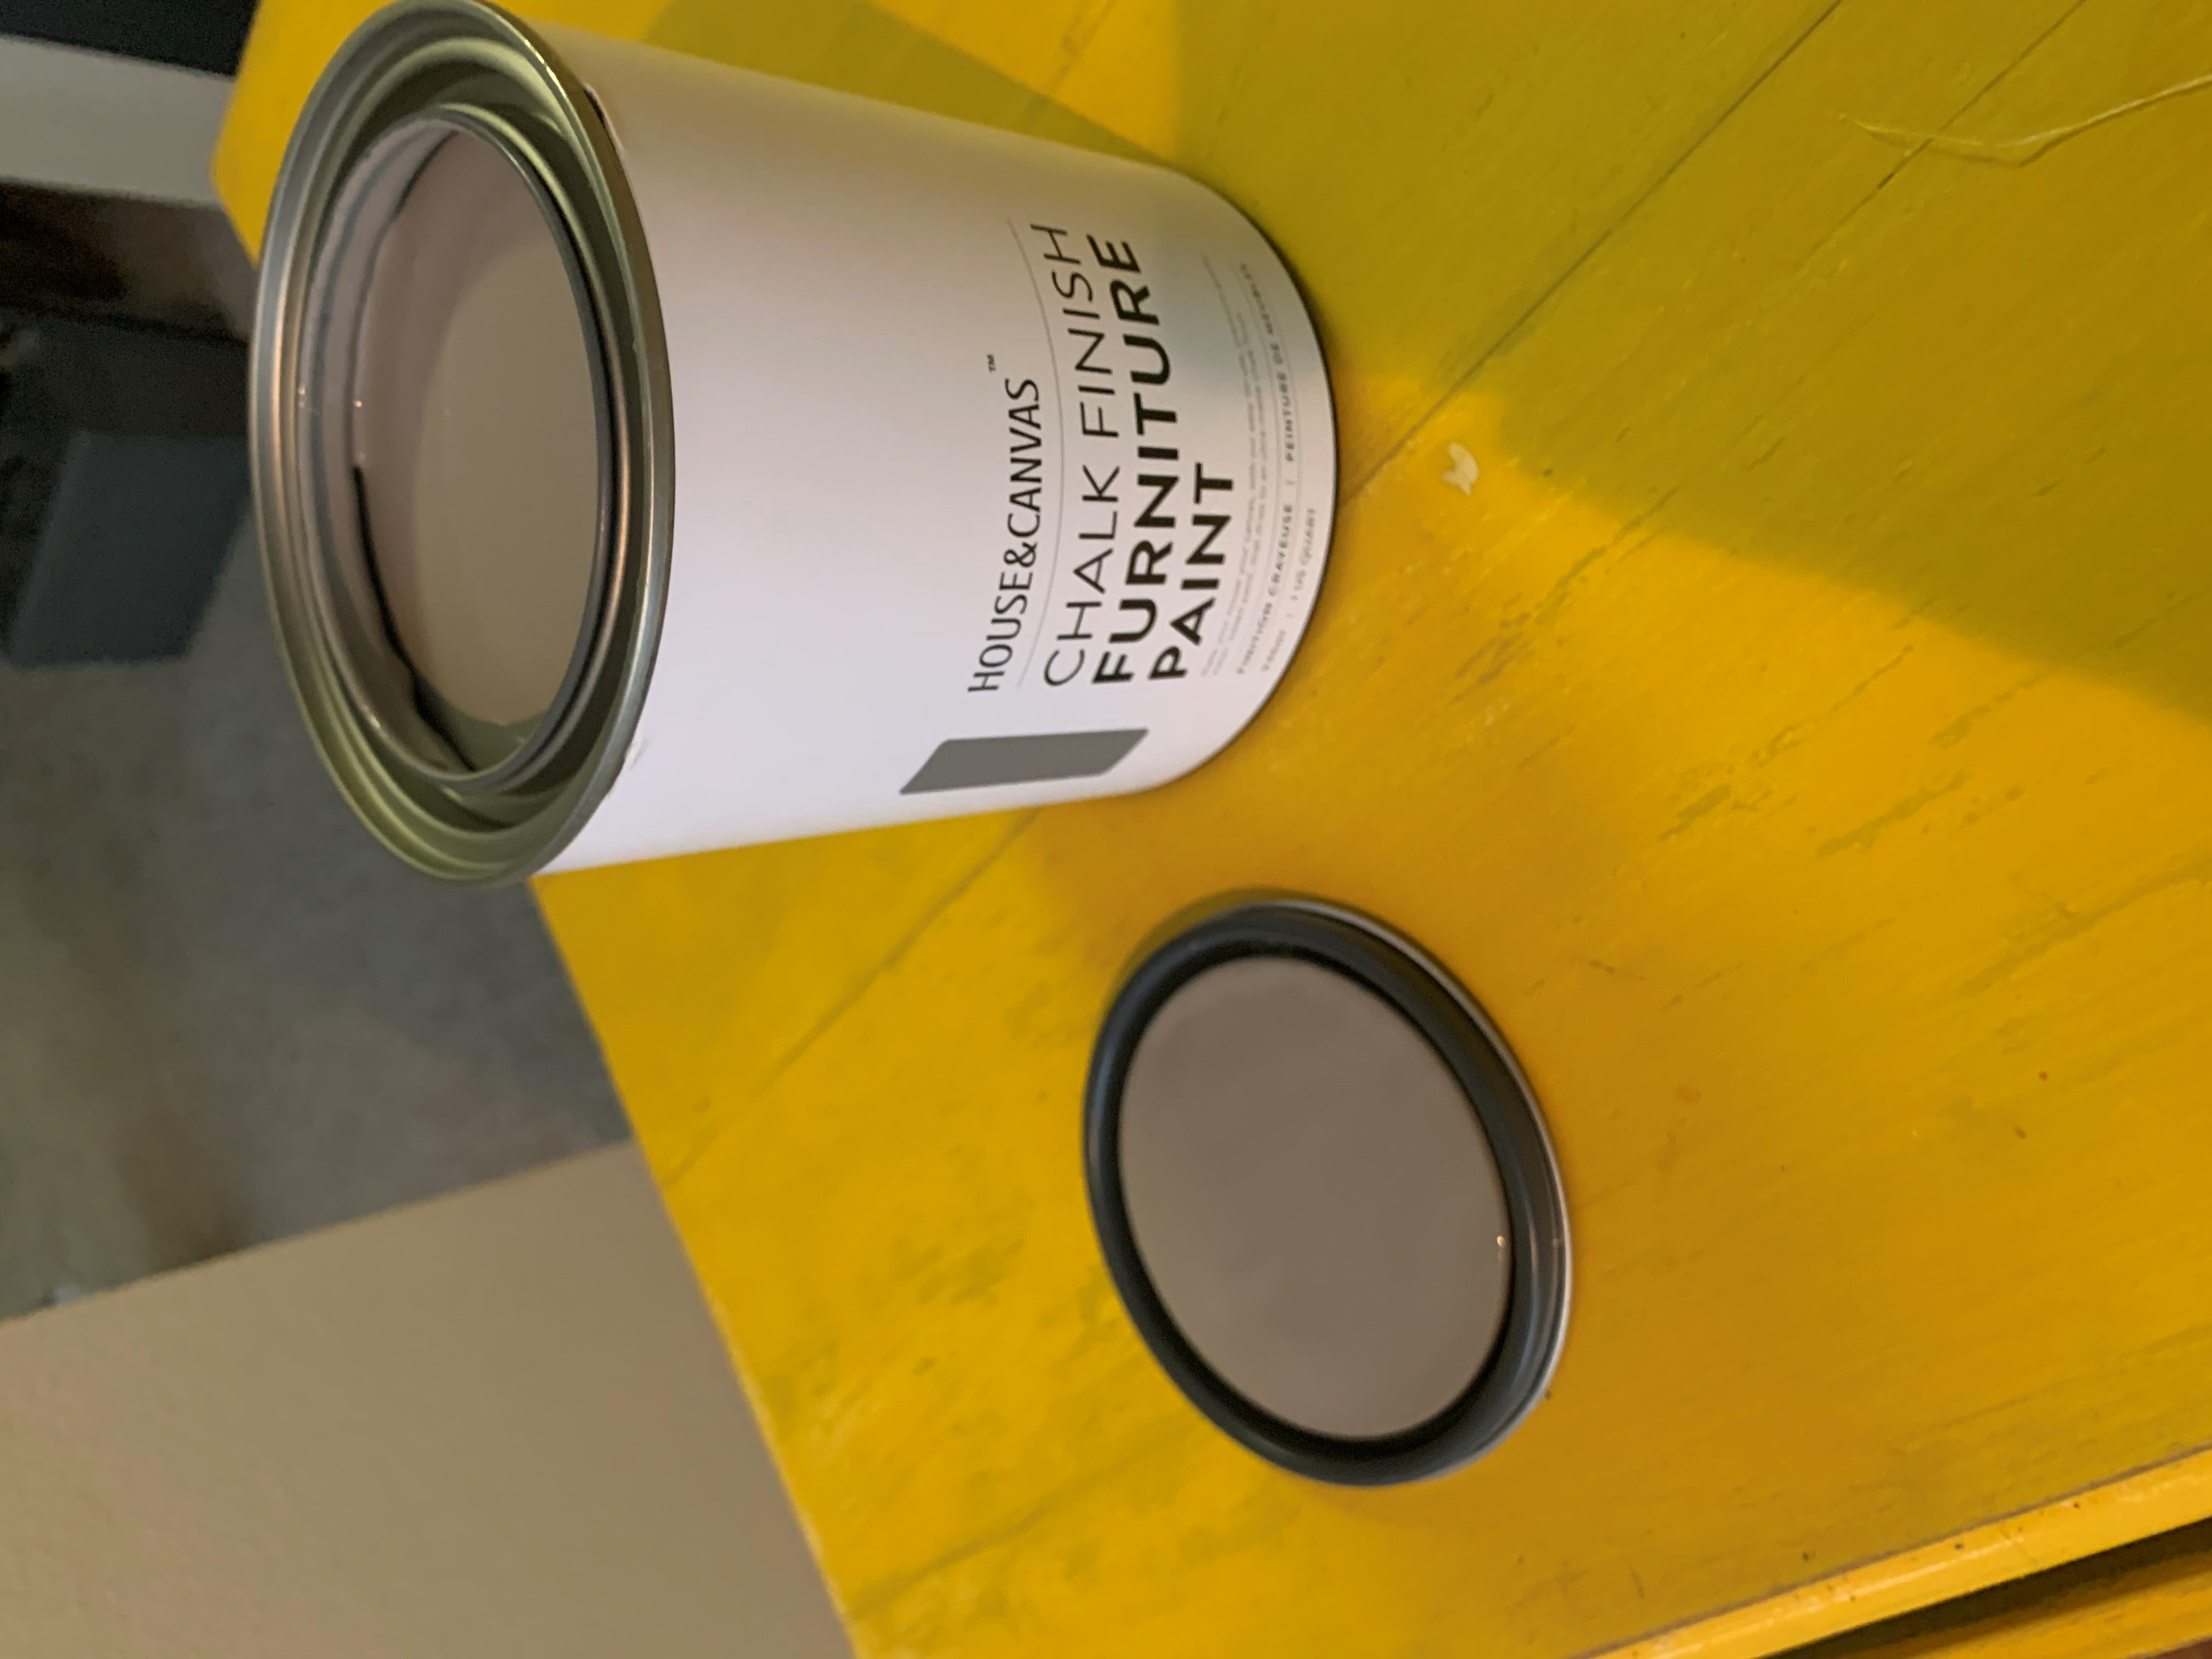
Photo courtesy of Emily Jackson
I started painting the first coat and was already impressed with how easy it was! Chalk paint requires minimal prep work, and it covers a lot with just one coat! The fabric absorbed a lot of the paint, so a second coat was required. If you were to paint a wooden piece of furniture, you may get away with just one quick coat!
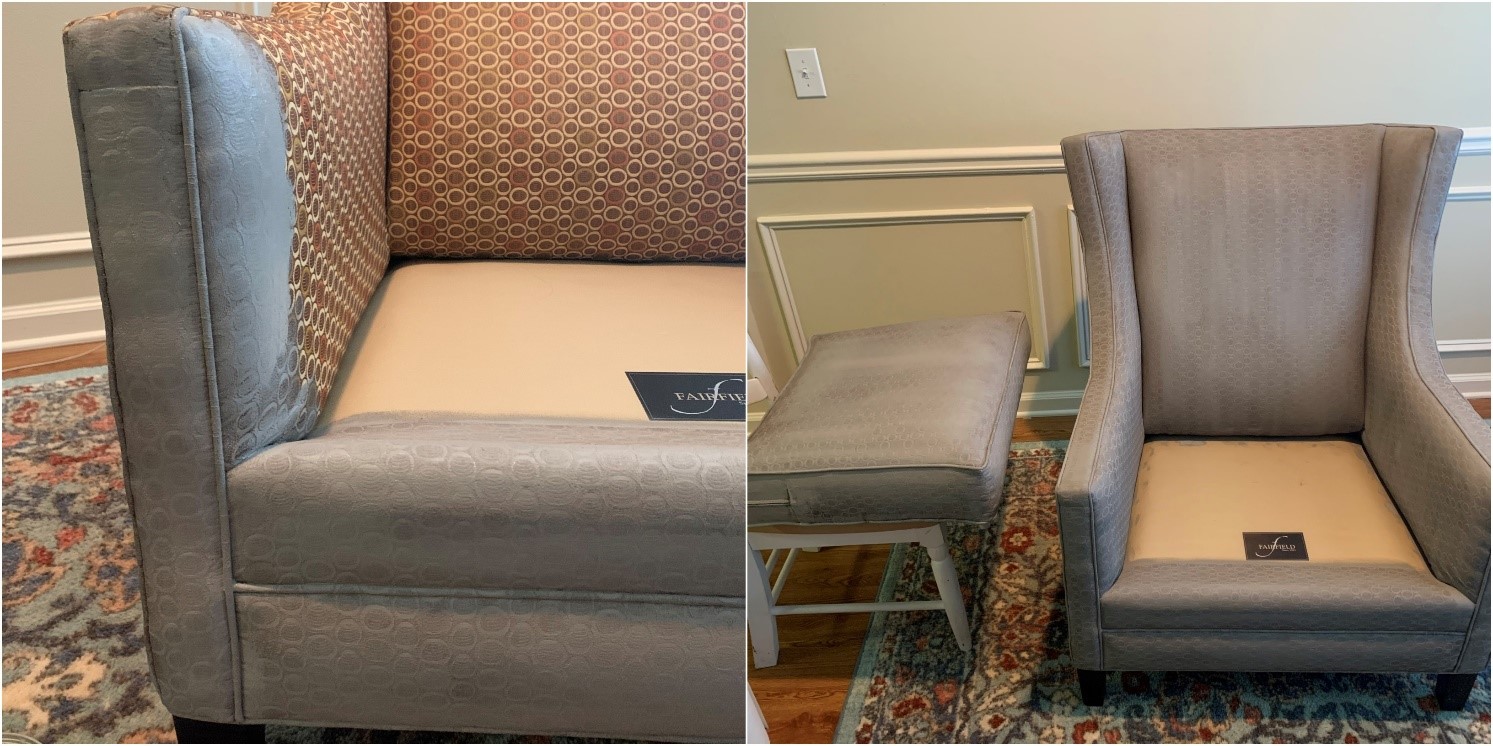
Photo courtesy of Emily Jackson
After one coat, I let it dry for 24 hours. As recommended, I did a light sand with 220 grit sandpaper, wiped away the dust, and started a second coat. I let that dry for another 24 hours before I sanded again and sealed my chair with House&Canvas’ clear wax. This wax protects the chair from water and stains and prevents the paint from cracking. It feels like a chalky leather and I love that it brings a new texture to my living room!
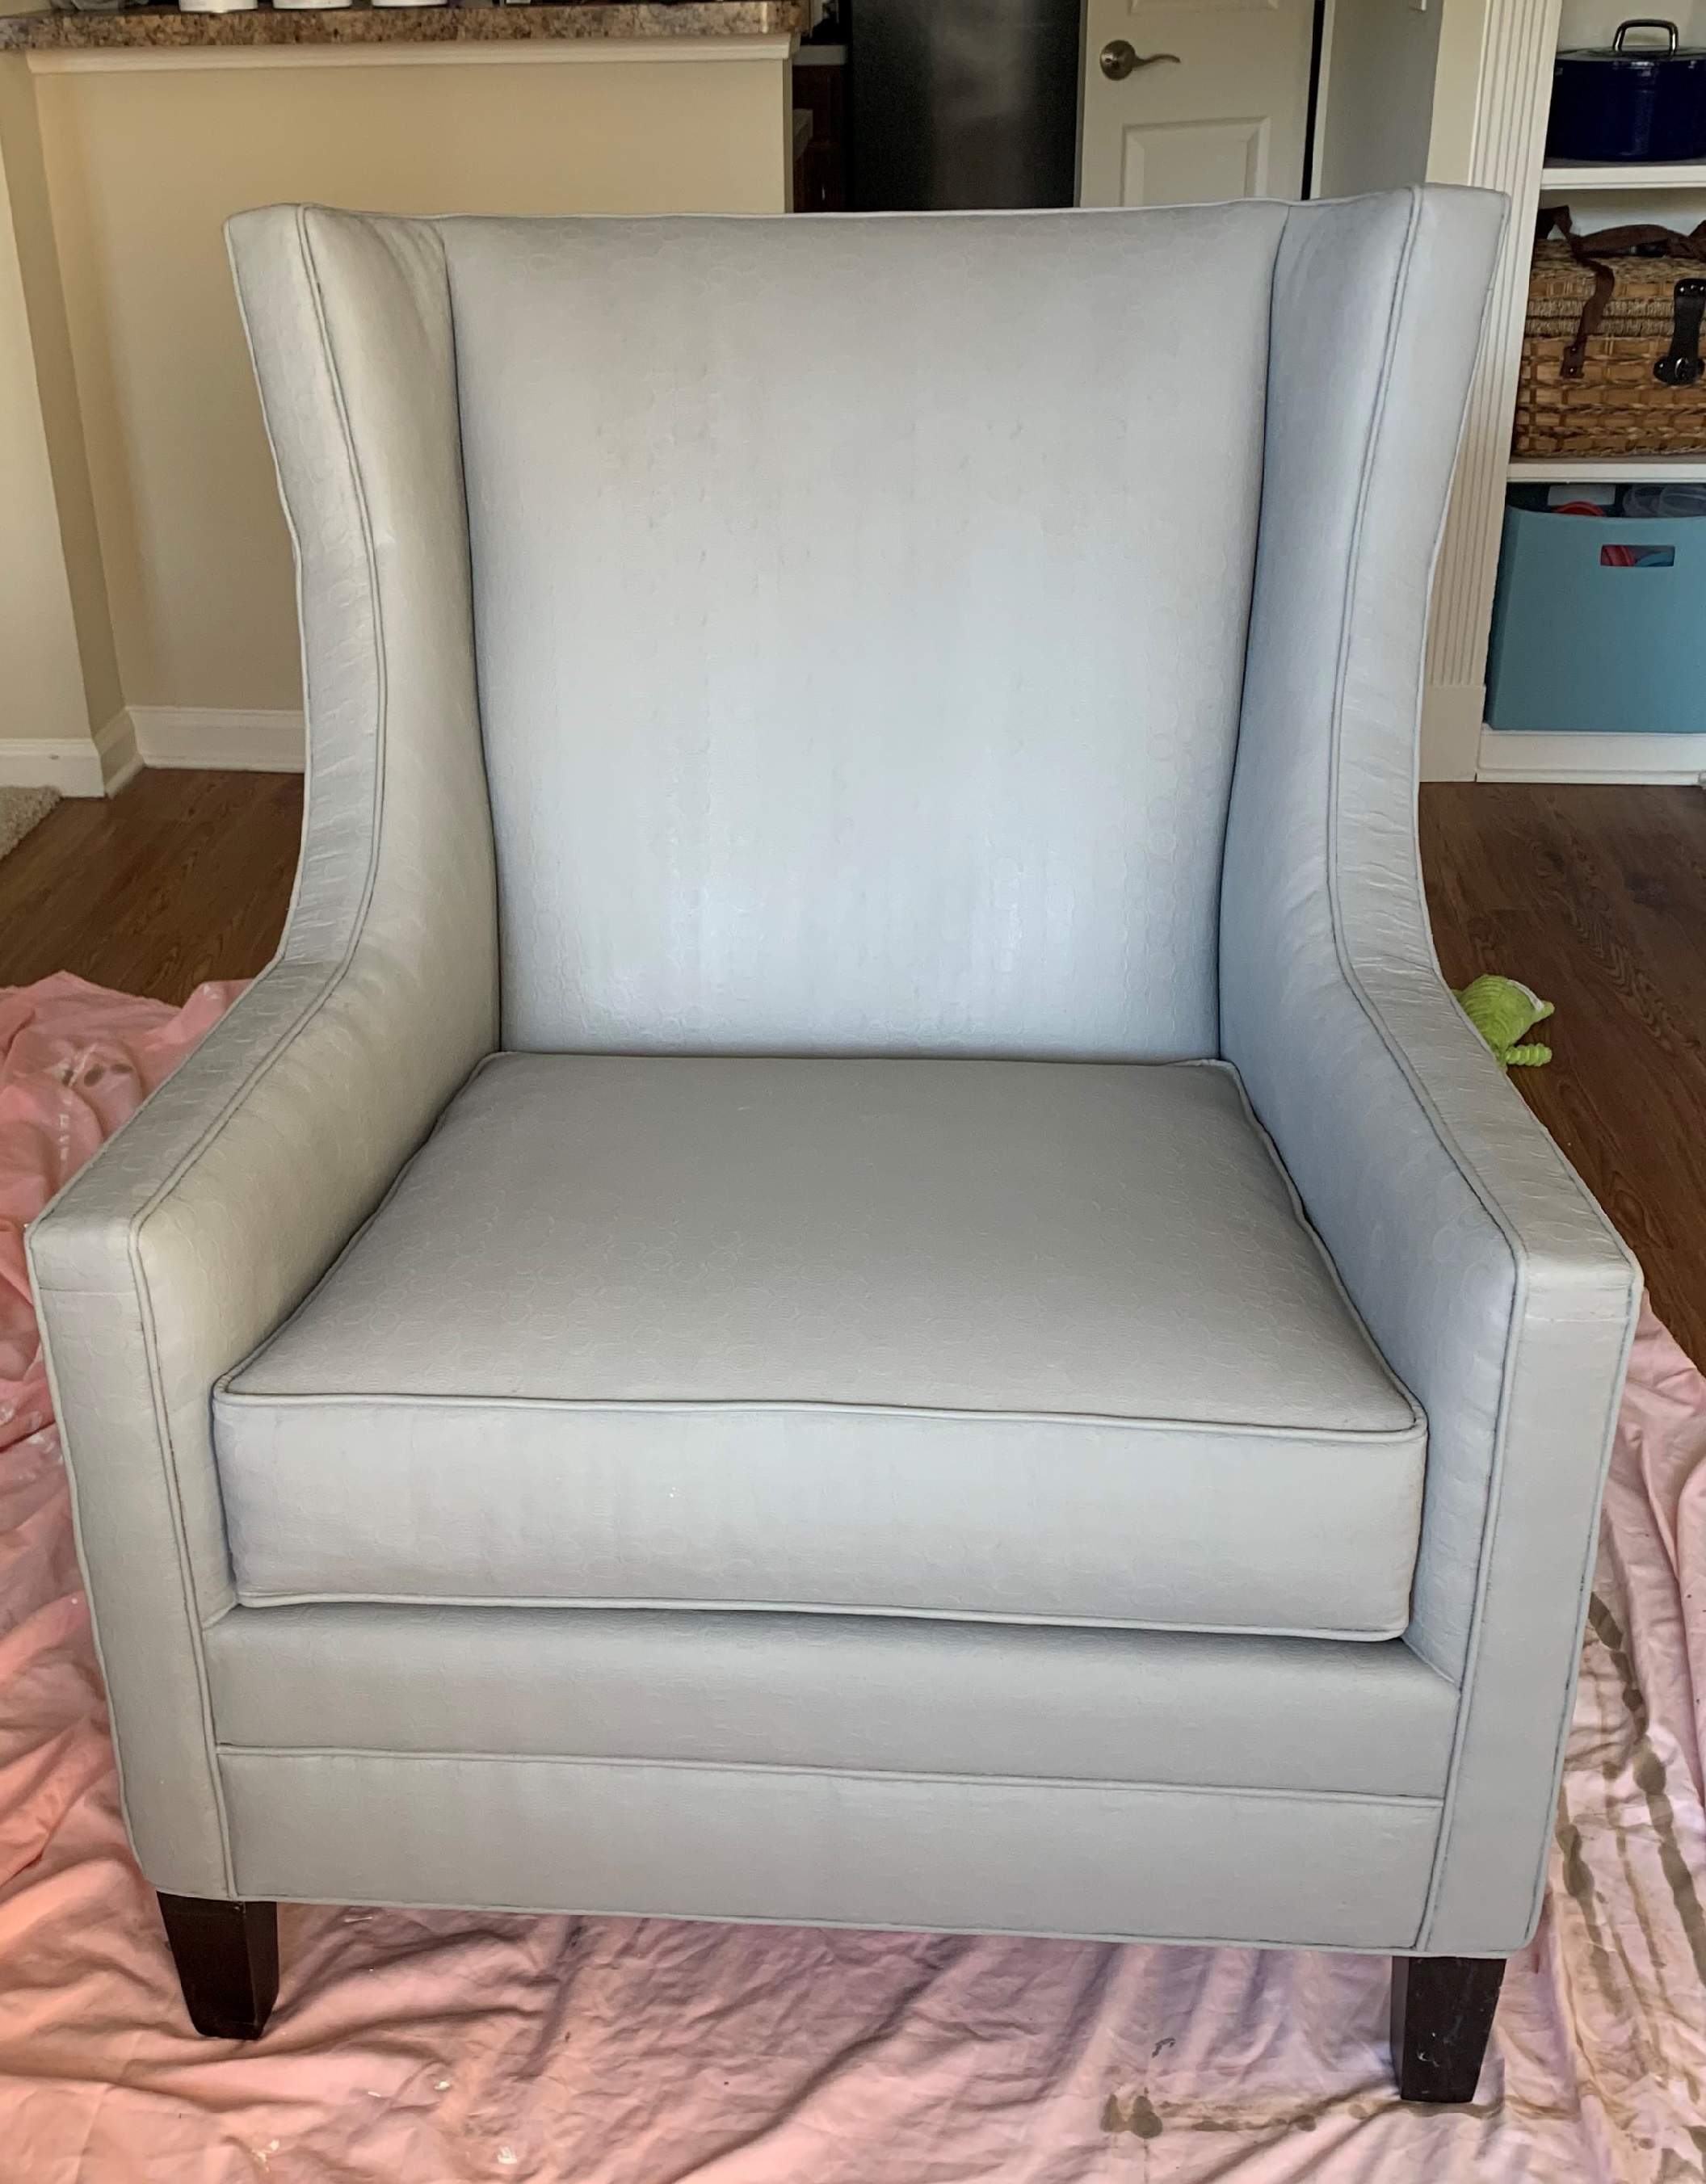
Photo courtesy of Emily Jackson
This project can be completed using any chalk paint or wax brand sealer; check out this blog post from Blooming Nest for another technique. Looking for more fun DIY projects? Check out Sting Art Made Easy and DIY Succulent Terrarium and subscribe to the Simply Camden blog!
Camden communities mentioned


Let's be longtime friends—subscribe today!
