
Featured Post
Why Camden Clearwater Is the Perfect Place to Call Home
How to Decorate Small Spaces
Lifestyle
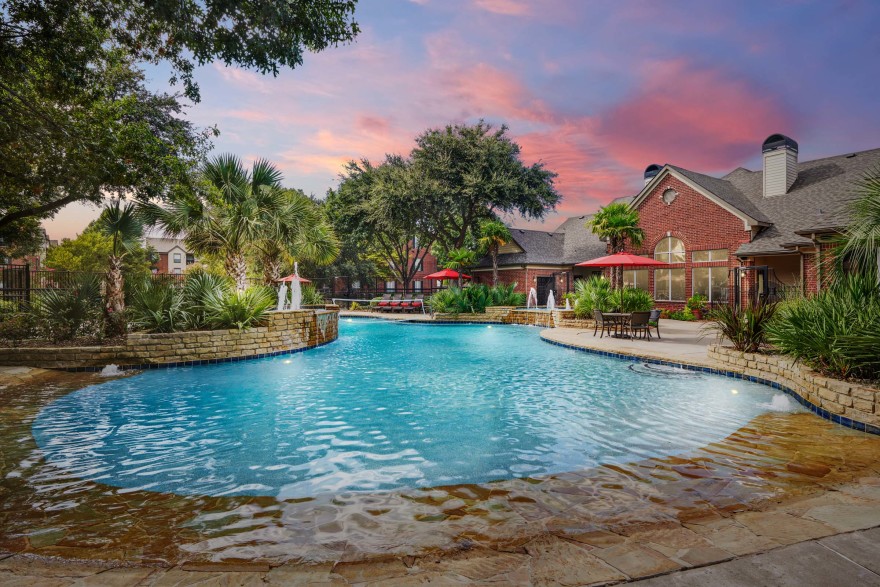
Sizzling Summer Fun in the DFW Metroplex: Top Things To Do In 2025
Things To Do
Why Camden Clearwater Is the Perfect Place to Call Home
About Camden
Weekend Trips from Raleigh
Things To Do
From A to New Zip Code: Camden’s Tips for a Smooth Out-of-State Transfer
About Camden
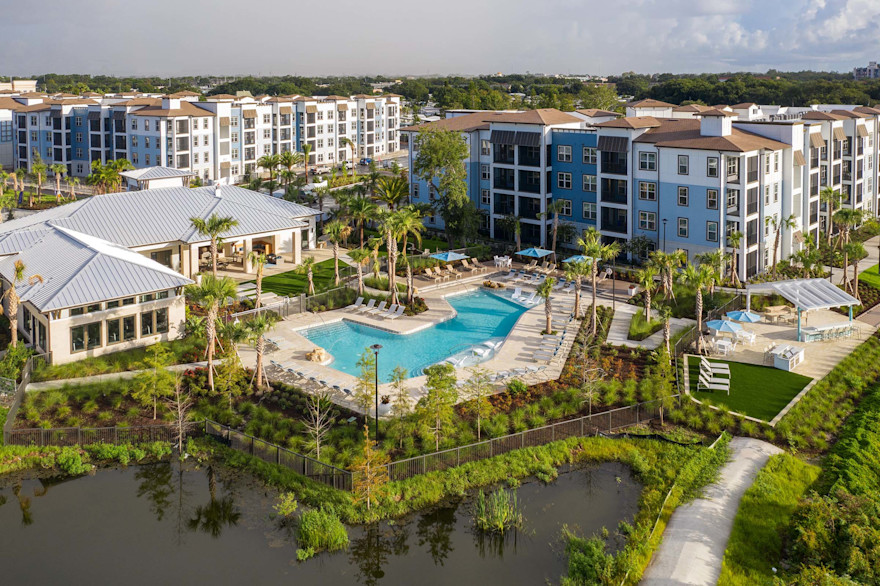
Best Places to Run in Tampa & St. Pete FL
Fitness And Health
What It Means to Be a Neighbor
My Home
A Foodie’s Guide to Houston: Must Try Restaurants and Where to Find Them
Lifestyle
South Tampa Living: Camden Preserve
About Camden
Meet Our Gurus!
Our bloggers are apartment living gurus working for Camden from coast to coast.
Our Bloggers