
Snail mail may not be the most popular form of communication nowadays, but there is something still exciting and almost romantic about getting a handmade card in the mail! Even better when you send out your thank-you notes and such on your very own handmade stationary! Plus, a personalized stationary set is a very simple and affordable gift to make for newlyweds, birthdays, you name it.
All the crafting essentials! Besides the cards, everything can be used for other projects! Here’s all you need: Tip: Any of these supplies can be found at your local craft store. I buy frequently from Paper Source, but I can’t ignore a $1 stamp bin at Michael’s either. This is a bit of an investment, but if you enjoy doing this, everything except the paper can be used again!
Cardstock- I prefer folded cards so something can be decorative on the outside and sentiments can be written inside. For this example I used Sage Green to match the bride’s colors in size A2.
Matching envelopes in size, but color doesn’t have to match; it can also be an accent or complimentary color!
Paper for lining; I chose a heavy weighted fine paper but it could be anything from plain card stock to patterned wrapping paper to the Sunday newspaper comics- think creatively! For this example I used paper with green leaves and silver birds- just the right pop of color and pattern.
Stamp for décor- flowers, a cute “hello” or just “thank you”! For this example I used a bird stamp- sense a theme? The bride loves birds!
Initial stamp. For this example I used a W.
Envelope liner template kit
Versamark ink pad- a clear water mark ink
Heat tool- no not a hair dryer!
Scissors
Pencil
Tape runner or double sided tape
Ready to stamp? It's Embossing time! Don’t be intimidated by heat embossing! It’s super easy, fun, faster than you think and creates a lovely raised and shiny image.
Start off stamping your décor stamp in the Versamark ink, being sure to cover it completely with the ink.
Stamp straight down applying pressure to the front of the folded card.
Pop off the stamp, and you should see a faint, watermark image of your stamp on the card.
Place the card in your tidy tray or on a piece of scratch paper and sprinkle the embossing powder over the image liberally, and then tap off the excess. Tip: If loose powder is still on the card where it shouldn’t be, lightly flick the back of the card. You can then put the leftover powder back into your embossing container so there’s no waste!
Tip: Keep your stamps clean and all your supplies will last you- I have had this ink pad and powder for over a year and have used them on several projects!
Turn on your heat tool and hover about an inch from the card. Once you start to see it become melted, raised and shiny, keep it moving until the entire image has just lost its gritty powder look. Tip: it IS possible to burn paper so watch as you emboss!
Now, form an assembly line! Stamp and apply powder to several cards or envelopes, line them up (carefully not to smudge!) and then heat emboss in a row. I heat embossed all the birds onto the cards as well as the “W”s on the back flaps on the envelopes.
So stressful! NOT! Now onto the liners!
Grab your envelope liner template (I’m using the A2 for these), and this is the secret: you trace it… Yup, that’s it! Trace with a pencil, then cut it out with scissors!
Now, either use your double sided tape or tape runner and apply on the top flap- in an upside “V” if you will.
With much talent and precision of course!
Tuck your liner into the envelope all the way matching up the point of the flap with point of the liner (making sure the sticky line on the envelope is still exposed!). Apply pressure to make sure it all sticks together nice!
Wow! Doesn’t that just add a special pop of pattern and color to an otherwise boring envelope? This is a fine paper, but again- there are SO many possibilities of things you can line envelopes with: comics, your artwork, your kids’ artwork, newspapers, stamped paper…I could go on.
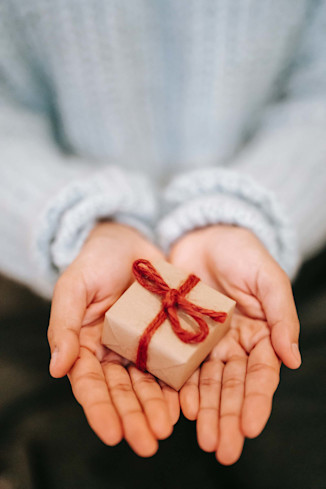
If these are a gift, just stack up the cards and envelopes, and add a final touch with a bow! Happy crafting!- <3 Jessica. Follow me on Instagram @craftykiddoll!
Let's be longtime friends—subscribe today!


